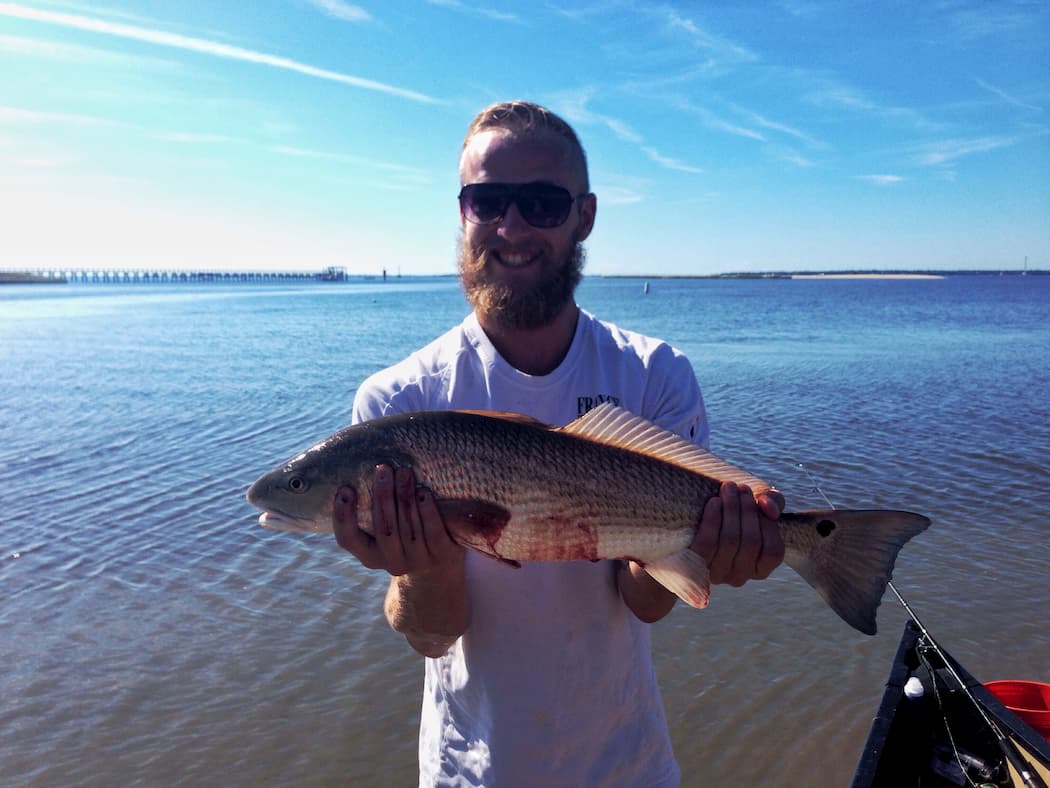
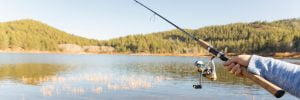
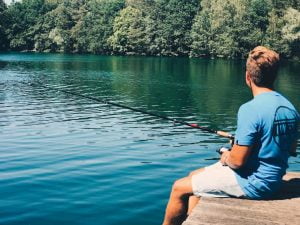
What Time of Day Is Best to Fish?
By taking a few minutes to plan out when you’ll go fishing, you can greatly increase your chances of catching more fish and enjoying your time doing it. Check out this article to find out the best times to go fishing.
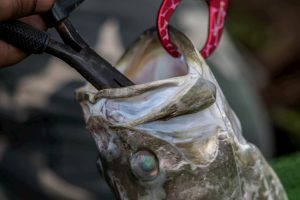
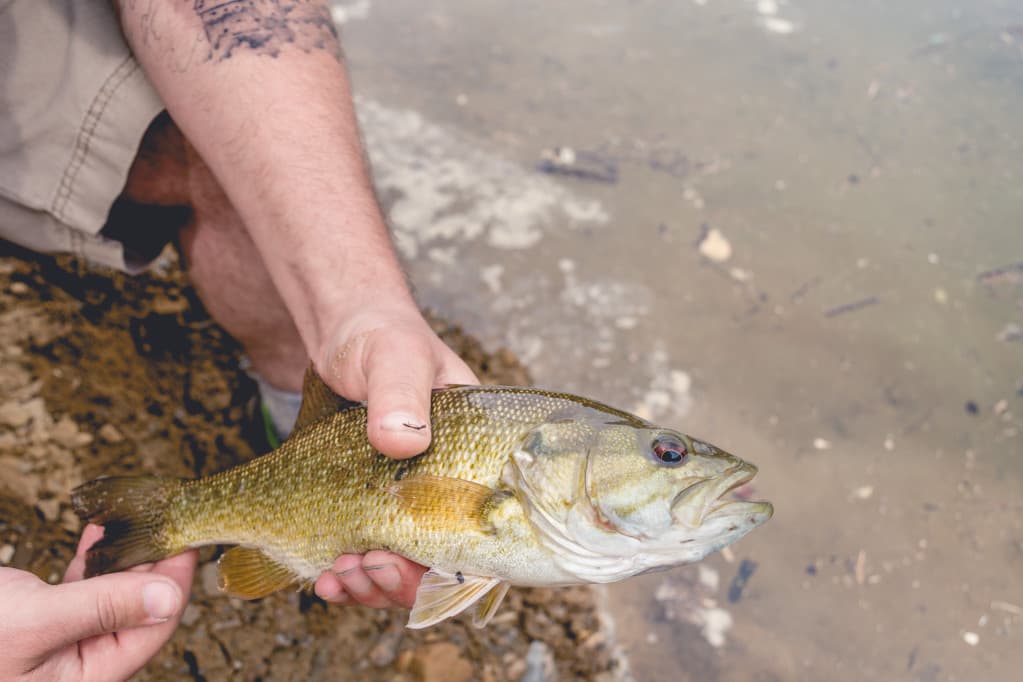
Best Fishing Pliers & Multi-Tools For Saltwater & Freshwater Anglers
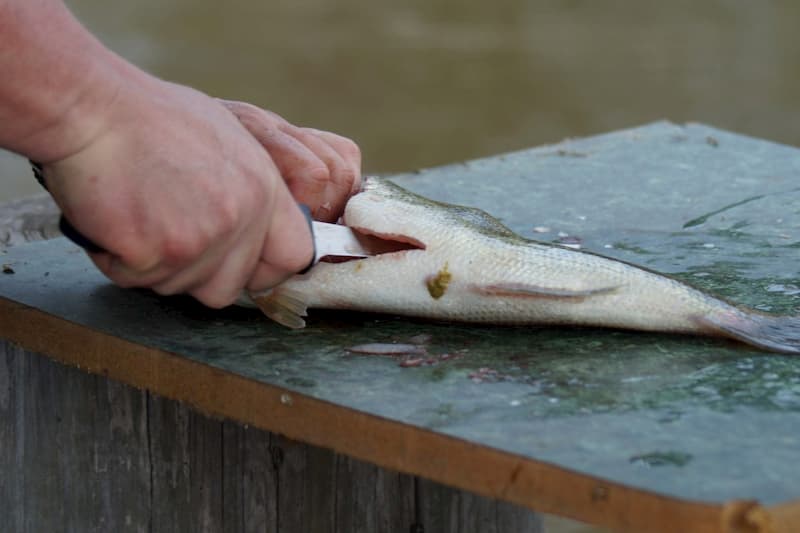
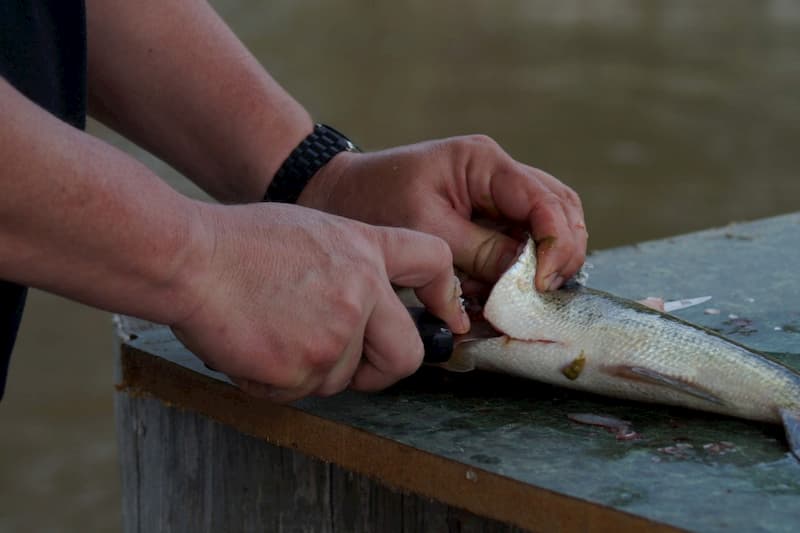
Fishing pliers are one of those tools that can be easy to forget, but definitely missed once you’re out fishing. You may catch multiple fish and never think about them, but once you need them, you really need them. Check out the top fishing pliers on the market.
Berkley Lightning Rod Review – Budget Priced Spinning Fishing Pole
After putting the Berkley Lightning Rod Spinning model through the ringer we were pleasantly surprised out how well it did especially for the price. Looking for budget spinning rod that can hold it’s own? Check out this rod!
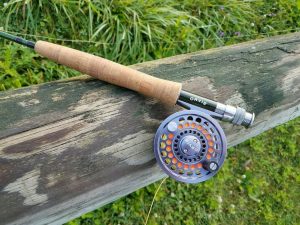
Orvis Clearwater Review – Best Fly Fishing Rod & Reel For The Money 2022
Ready to get started with fly fishing? The Orvis Clearwater fly fishing outfit is a great budget conscious rod and reel. Check out our review and see if this is the right fly fishing gear for you.